-
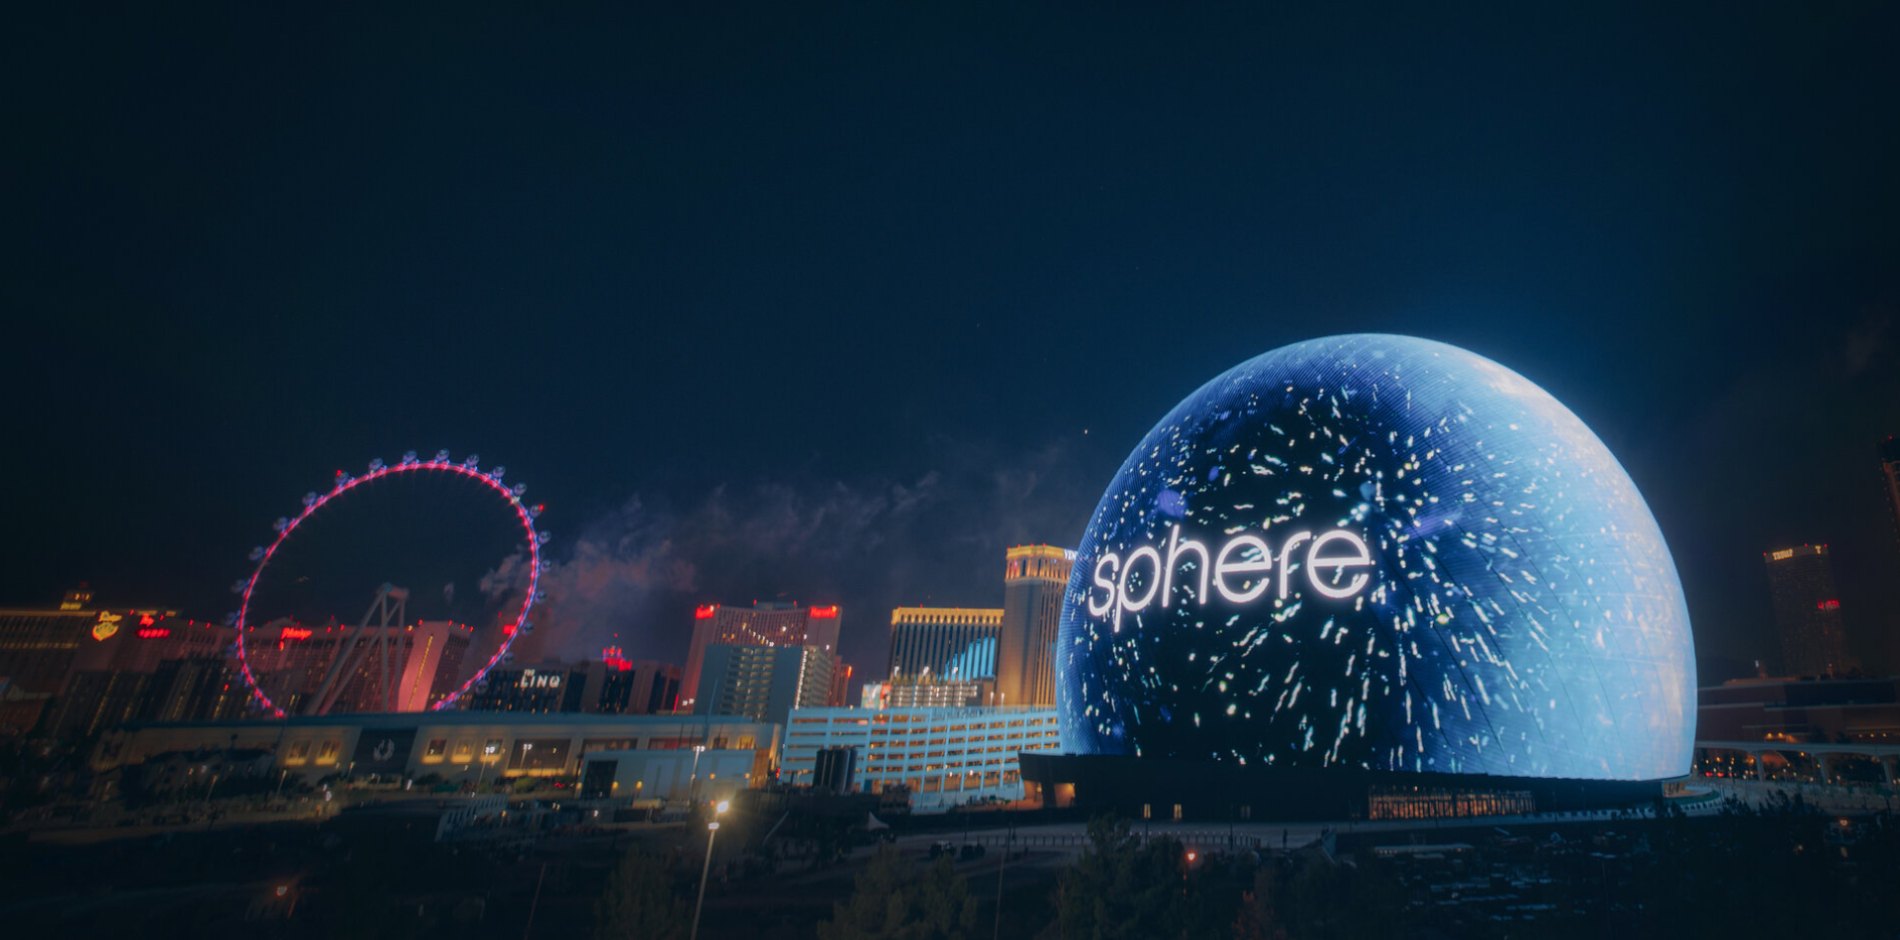
Сферический светодиодный дисплей: Полное руководство по креативным светодиодным шаровым экранам с обзором на 360°
-
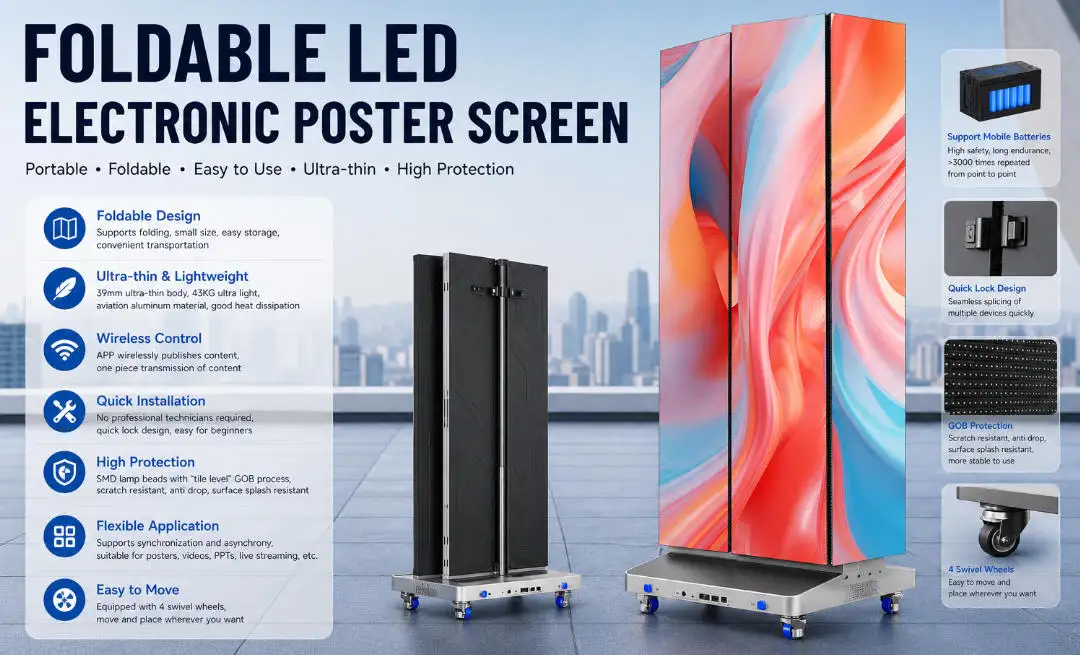
Складной светодиодный электронный экран для плакатов: Умнее, Более портативный способ представления контента
-
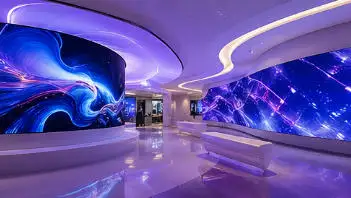
Будущие тенденции в технологии гибких светодиодных дисплеев и креативных инсталляциях
2024-11-06


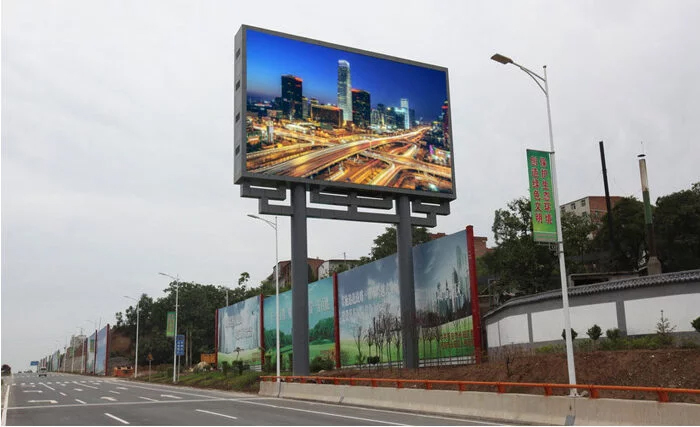
Наружные светодиодные дисплеи обычно используются для рекламы., общественная информация, и развлечения в различных условиях, например, стадионы, концертные площадки, и оживленные городские улицы. Создание наружного светодиодного дисплея требует сочетания технических знаний., дизайнерские навыки, и тщательное планирование.
1. Understanding the Basics of LED Technology
ВЕЛ (Светоизлучающий диод) Технология лежит в основе светодиодных экранов для наружного применения. Они доступны в различных цветах., и RGB (Красный, Зелёный, Синий) Светодиоды можно комбинировать для создания широкого спектра цветов.. Понимание того, как работают светодиоды и их характеристики, необходимо для разработки эффективного дисплея..
Яркость наружного светодиодного экрана должна составлять не менее ≥ 5000 нит., учитывая солнечный свет. Чем меньше шаг пикселя, лучший внешний вид дисплея, также тем выше стоимость.
2. Designing the Display
The design phase is crucial for determining the size, форма, и расположение светодиодного дисплея. Вот некоторые ключевые соображения:
- Цель: Makei it clear of the display purpose. Is it for advertising, публичные объявления, or entertainment? This will influence the content and design.
- Location: Assess the installation site. Factors such as viewing distance, height, and surrounding environment (like buildings or trees) will affect visibility and design.
- Размер и разрешение: Based on the actual viewing distance, choose the suitable size, consider the pixel pitch to ensure the resolution meets your needs.
- Content Management: Plan how the content will be created and managed. This includes deciding on a control system and the software that will be used to display content.
3. Selecting Components
Building an outdoor LED display requires several key components:
- Светодиодные модули: Choose modules based on brightness, шаг пикселя, and color performance. Modules are often available in various configurations (например, 16х16, 32х32).
- Система управления: A controller receives data from a computer and sends it to the LED modules. Generally synchronous and asynchronous systems are available and need to be combined with actual application scenarios (Видео, изображения, и так далее.).
- Источник питания: LEDs require a steady power supply. Select power supply units that can provide adequate voltage and current for the entire display. Consider using redundant power supplies for reliability.
- Enclosure: The display will need a protective enclosure to shield it from weather elements such as rain, пыль, and extreme temperatures. Enclosures should be rated for IP65 or higher for outdoor use.
- Mounting Structure: Depending on the location, you may need a mounting structure to securely install the display. This could be a pole, wall mount, or a freestanding frame.
4. Assembly Process
Once you have all the components, можно приступать к сборке дисплея:
- Prepare the Site: Ensure the installation site is ready, with proper electrical connections and a stable foundation for mounting.
- Assemble LED Modules: Normally the manufacturer will provide the link drawing to customers, including the signal drawing and power drawing, then can connect the LED modules together from units.
- Install the Control System: Set up the control system and connect it to the LED modules. This typically involves wiring the modules to a central controller, which will manage the data input.
- Mount the Display: Securely install the assembled display onto the mounting structure. Ensure it is stable and well-supported.
5. Programming and Content Management
After finishing the hardware connection, Следующий шаг — установка программного обеспечения:
- Installing Software: Load the content management software onto the controlling computer. Normally you can find from their official website, like Novastar/Colorlight/Mooncell and so on.
- Content Creation: Design graphics, Видео, or animations that will be shown on the display.
- Testing: Before going live, test the display to ensure all pixels are functioning correctly and that the content is displaying as intended.
6. Maintenance and Troubleshooting
Once the outdoor LED display is operational, регулярное техническое обслуживание необходимо для обеспечения его долговечности и производительности.:
- Routine Checks:Check connections, источники питания, and the enclosure for wear and tear.
- Очистка: Keep the appearance clean as far as possible.
- Обновления программного обеспечения: Keep the software updates regularly following the suitable version.
- Troubleshooting: Familiarize yourself with common issues and troubleshooting techniques. Будьте готовы заменить любые неисправные модули или компоненты по мере необходимости..
Заключение
Понимая технологию, эффективное проектирование, выбор правильных компонентов, и обеспечение правильной сборки и обслуживания., вы можете создать дисплей, который будет привлекать внимание и предоставлять высококачественный визуальный контент.. При правильном подходе, уличные светодиодные дисплеи могут служить мощным инструментом коммуникации и рекламы в различных средах..